Saturday, February 25, 2012

The new card KIT!

That's right! For those of us who love to make cards and can't resist a good card kit, you will want to play with this new addition to the Close To My Heart line of products. Located on page 123 of the Spring/Summer catalog, this kit has everything you need to make 10 3D type cards.

For just $19.95 your kit includes adorable stickers, decorative chipboard, cards AND matching envelopes, the little cups to hold your treats and ideas for assembling the cards. It really was super fun to make although, here are a few tips to make the process go a little better for you.

When attaching the self adhesive little cup, fill with candy, remove the sticker back and line it up with the envelope closed and then set it down on the paper.

When applying the chipboard use a strong glue like Liquid Glass to make it stick.

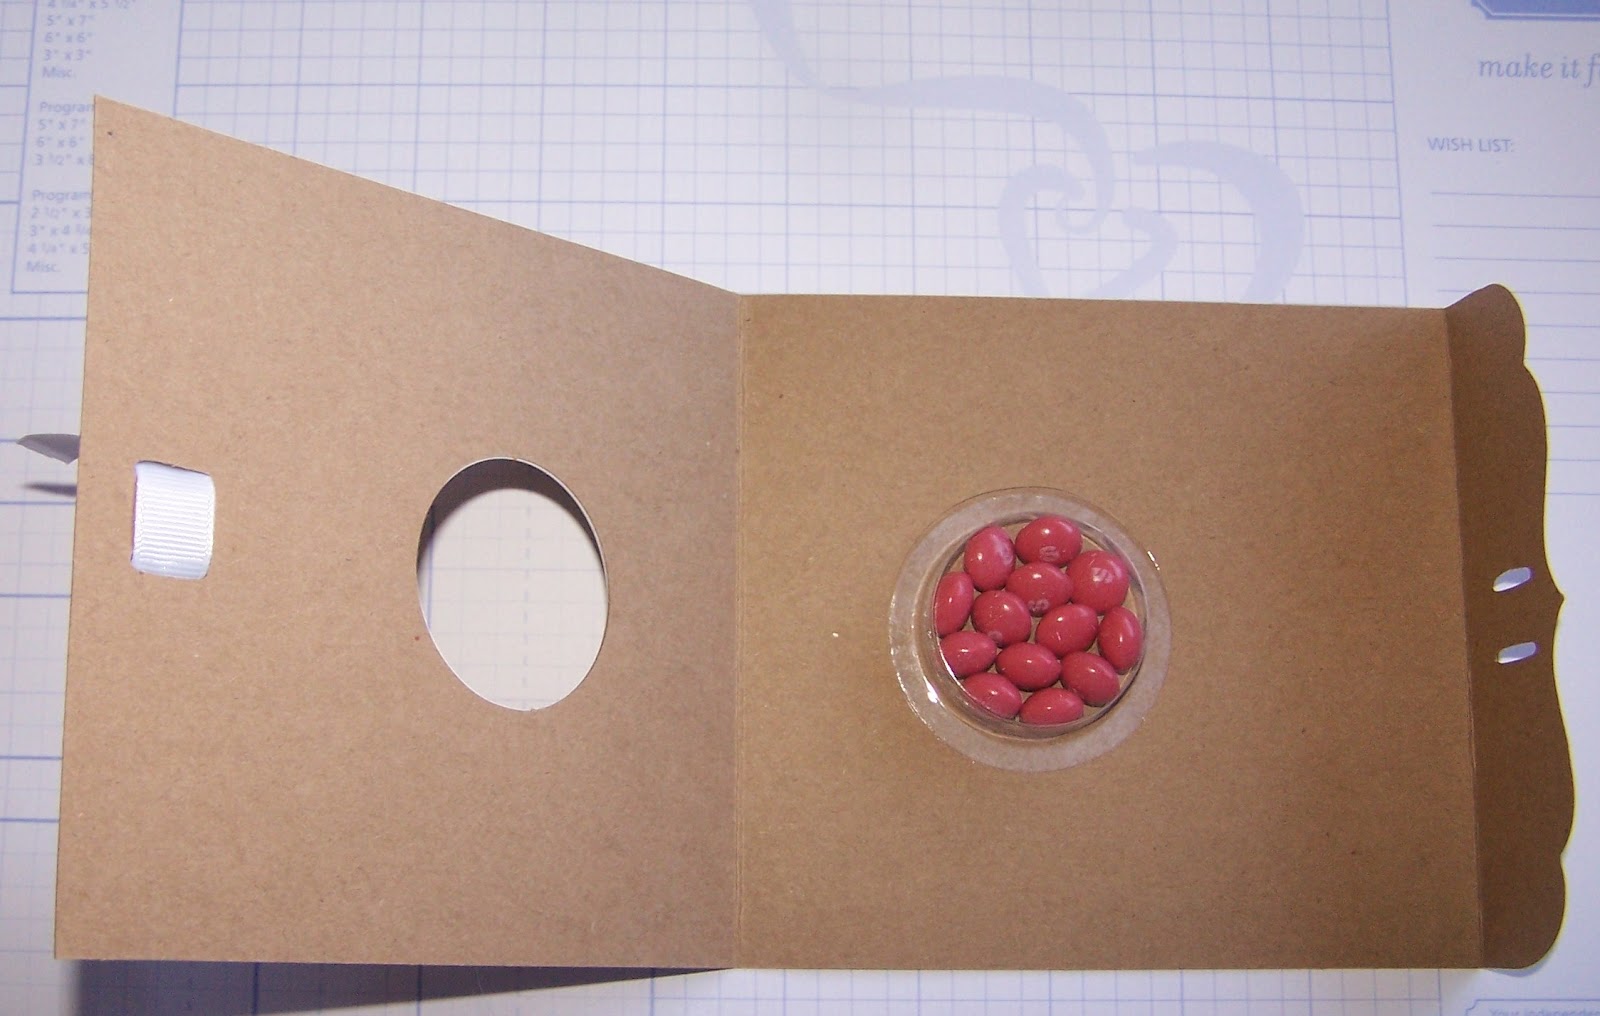
This is what the card looks like open. You will have extra stickers, so you could potentially add more decoration to the inside as well.

This is your finished card. Isn't it so pretty? I would love to receive this from a friend. Easy and fun to assemble, this card kit is a blast!

See page 123 of the new catalog.

Tuesday, February 7, 2012

One Stamp Set, Three Looks

One of the best things I love about stamping? Making 3D items! I recently made this little box with a group of friends in Colorado. It was so darn easy to make and can be used for so many things! I'm keeping cards I've made so I can easily find a card if I need one. It can also be used to store important trinkets and memorabilia. It's up to you.


The box is available in the most recent catalog (we have a new Spring/Summer one now) and is SO affordable! Located on p. 131 this white chipboard box is one of many chipboard 3D items that can be decorated as your heart desires. This particular item is less than $5 and includes a magnetic closure so it stays closed and keeps your memories (or greeting cards) safe.


To start decorating choose your adhesive (make sure it's permanent). I have used my Tombow permanent tape runner, but the really cool adhesive (not sold by CTMH) is called "Yes Paste" and makes adhering paper to the chipboard easy and wrinkle free. Just apply a layer to the back of your paper (edge to edge). Then run your finger around the edge to keep them all down and flush with the box. We also used a sponge and Olive ink to sponge the box so it would no longer be white, but Olive to match the Sonoma paper.

I hope you have as much as I do decorating these fun items. Whether you give one as a gift or are selfish like me, and keep it for yourself, it's easy, fun, and beautiful!