Thursday, November 4, 2010

Guy Cards

I love making cards for friends and families . . . there is nothing like making a special card and knowing you've made someone's day.  The only bad thing is that sometimes the guy's in my life have to tolerate a bow, a ribbon, or maybe even some sparkle.  My bad.  It's just so hard to keep it clean and simple and not reach for the pink or the sparkley froo froo.  LOL

So last week I sat down and made a bunch of manly man cards.  No bows, no ribbon, and not a sparkle in sight.  Just thought I'd share some of them since I know I'm not alone in my quest to make masculine appropriate greetings!  Enjoy!
Okay, so I added sparkle to the trees.  Whoops.

Guys are stars, right?


Monday, October 11, 2010

Tis the Season . . .

I made my first Christmas card of the season . . . and it was 100 degrees outside.  I am shocked it's almost Halloween . . . and completely unprepared for the Christmas trees and Santas that will soon take over the aisles of Target and Safeway.  Tis the season . . . yes, indeed.  I call this the season to start thinking about the season.  It's the time of the year when you start to thinking it would be nice to sip some eggnog and actually feel like toasting your toes by the fire.

Right now it's just hot outside and the thought of a pumpkin spice latte or even a hot chocolate is a little too much to comprehend.  And yet, the season will be here!

So, to get in the mood, I pulled out my embossing gun (it was very dusty) and of course, I thought Santa and his reindeer would look mighty festive in some gold embossing.  I even added some fun flock to Santa's hat and coat!  What is fun flock, you say?  It's this amazing stuff that makes your artwork have fuzz.  It looks great on a sheep or a snowman too!  Using a light weight glue, like the CTMH Bonding Memories Pen Z553, color the area you want flocked.  Then add some of the flock (it's like shredded up felt) Z263 . . . let it dry for a few minutes and then tap the excess off.  It really adds bedazzle to any artwork or project.

Stamps not shown at actual size.
For the Santa card I used the stamp of the Month for October, Share the Magic.  The set is only available through October 31st.  For more information, please visit my website: http://stampedbyme.myctmh.com

If you are interested in fun flocking or embossing, you can purchase it, as well as the cute stamp set above, on my website at http://stampedbyme.myctmh.com . . . just a few dollars can get you on the track to some flocking good fun!  The season though, well, can't it just take a while longer to arrive?  :-)

Friday, October 1, 2010

Just a few things I made . . .

Today is Friday (whew!)  and, believe it or not, October 1st.  This means we are approaching that season of giving.  I am not even going to torture myself by counting the days until Christmas!!! It will be here before we know it!!!  Have you started your shopping yet?  Don't worry, you still have time!

One of the few things we need to remember is ourselves during this hectic season of party and gift giving. I recently treated myself to a stamp and crop retreat in beautiful Lake Tahoe. It was the best weekend, full of friends laughing and stamping into the night.  I just thought I'd share a few of the wonderful things I made.  I think every one of them would be well received by my friends and family.  However, I can't part with my own, so I better get busy and make some more, right?  ;-)

My favorite: this cute mini wallet photo album:  This sweet little album measures 4 1/2" x 3 1/2" when it is closed.  The monster is attached to a band of paper that slips off the album . . . when it opens it holds between 3 and 6 photos (4" x 3"). See photo below.

Let me know if you are interested in attending a class and we can whip up some for teacher gifts and your favorite neighbors or friends.  Not only is it easy to make . . . it's super cheap!


Another fun thing to make . . . bookmarks!  Add it to a favorite book or magazine or, if you aren't sure what your bookworm friend has read, why not a gift card to Borders!?  Always fun!


Note, I made several bookmarks at the crop, but believe it or not I have either given them away or lost them in my Stamp Studio!  They are SO easy to make though.  The base is 7" x 2" not including the bow or ribbon on the top.


Another fun gift to give is a box or packet of note or gift cards.  Tie 5 cards and their envelopes together with some ribbon or raffia . . . don't forget to include some postage stamps.  Nothing says love like a homemade card.  My favorite cards have all been featuring my new peacock stamp.  Maybe I'll do him in orange and brown and we can pretend he's a turkey? 


This card is a standard size card.  I used the new Magnifique paper pack from Close To My Heart.  Of course he has sparkles and some glitter.  Very pretty!

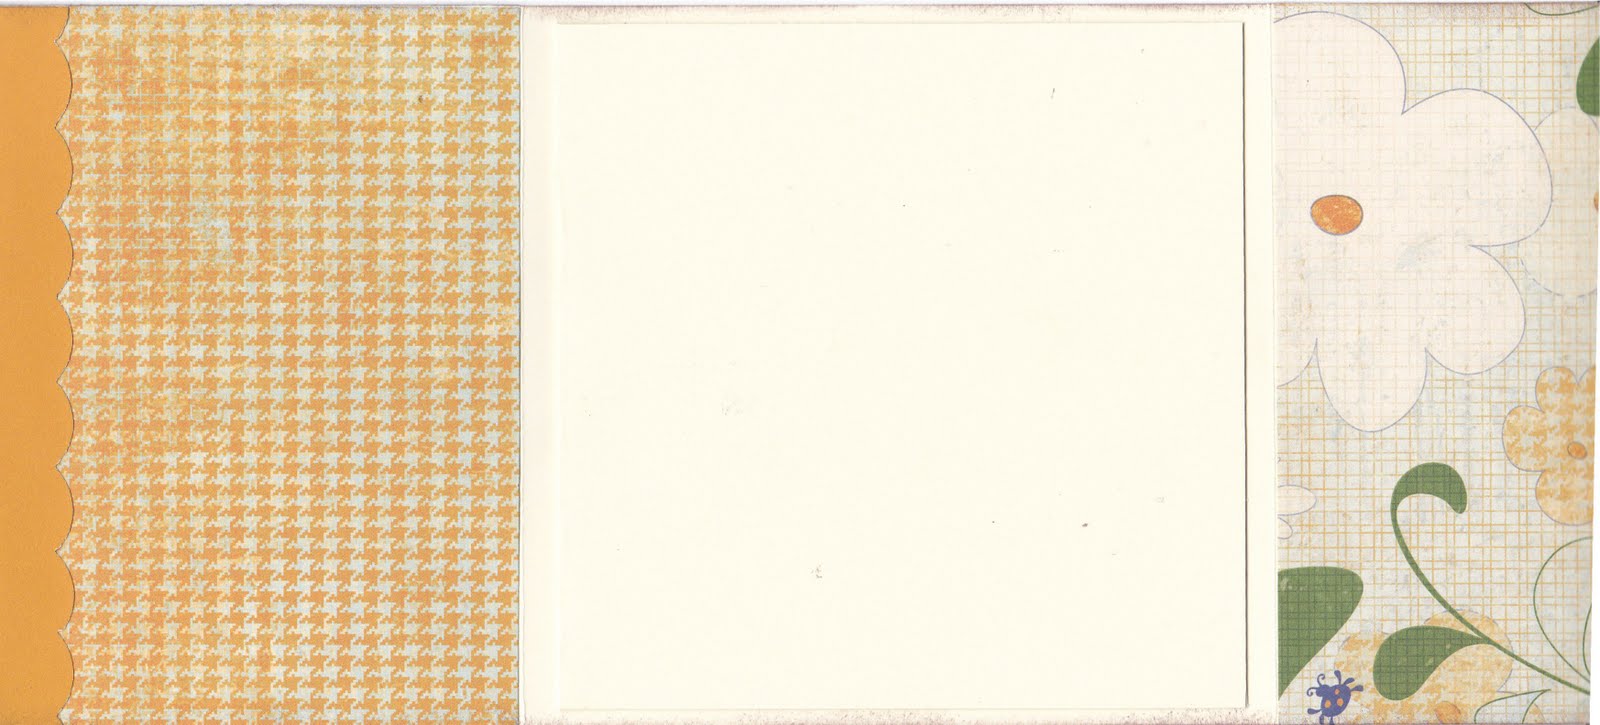
Last, but not least, my favorite gift to give is a hand decorated picture frame! This 8"x8" wood frame is from Michaels (only $1) . . . we first painted it black (using acrylic paint) . . . then we used squares of Hooligans paper from Close To My Heart and adhered it to the frame with Mod Podge.  So fun!  Now I just have to decide which is my favorite picture to include in the frame! (The idea is from my good friend, Mary Thompson.)

As Jeanette, the founder of Close to My Heart, always says . . . make it from your heart!

Wednesday, September 15, 2010

Easiest Birthday Card EVER!

Have you ever realized you need a birthday card and you have absolutely NO time to make something super cute, super extraordinary?  If you are like me, you have a whole Stamp Studio FULL of decorative paper, inks, and stamps and would HATE to have to buy a Hallmark card.

With just a bit of "shopping" in your stash, you can make a super quick card any time the need arises. I made this one (pictured below) in under 5 minutes and that included finding my paper cutter that I was pretty someone stole while I was picking up kids!

Step #1:  Gather your stash!  Pick one sheet of decorative paper.  Don't get too stuck on finding birthday themed paper or something in just the right pattern.  Also remember you will only need 5 1/2" x 4 1/4" so look through your scraps! Pick a sheet of cardstock (and don't always pick white . . . it could be a color that matches your pretty decorative paper!).  Gather your paper cutter and your favorite adhesive and POW! get started!


Step #2: Cut your cardstock to 8 1/2" x 5 1/2".  If you are using 8 1/2" x 11" paper (this is standard size copier/printer paper) you can cut this in half (on the short side) and you will have 2 cards!  Set your scraps aside.  Cut your decorative paper to 5 1/2" x 4 1/4".


Step #3: Fold your 8 1/2" x 5 1/2" cardstock in half to form a standard size card that measures 5 1/2" x 4 1/4".  Using your favorite adhesive, glue the decorative paper to the front of the card.

Step #4: Using a stamp that says "Happy Birthday" or "Celebrate" or whatever you choose, stamp the image on a scrap of your white paper (or even one of your matching papers). You may choose to mat the saying with another piece of paper like I have done in the sample, or just leave it plain.  You may also have some stickers in your stash . . . pull them out and see if one would fit your theme or your message.

Step #5: Shop your stash for some fun bling . . . try a ribbon or some buttons. Decorate to your heart's content!

Presto, you have a quickie card AND you shopped your stash! Wasn't that super easy?!
One final note before I dash back into my Stamp Studio to whip up some cards . . . I buy my envelopes at one of the office supply stores, like Office Depot.  The envelopes are called "invitation size" and are sold in a box of 100 for super cheap! 

Let me know if you need help . . . I think when times are tough and money is tight it's always fun to see what's in the stash!  :-)

Saturday, September 11, 2010

Wedding Bells Ringing

My hubby and I actually celebrated 18 years of marriage last week.  I can't believe how much time has flown or the adventures we have been through.  All fun, of course!

In honor of this special day I wanted to create a one of a kind card for David.  So I went "shopping" in my stash and found some fun leftovers like this fun guitar design from my CTMH Rockin' Top Coat collection.  The design is printed on a transparency and it was so easy to glue on top of the card with a few dots of Liquid Glass applied behind the guitar so the glue wouldn't show.  The paper is leftovers from a past paper pack (I'm sorry to say I can't even remember which one!)  I cut out the wedding rings from the Love Always stamp set.  I even glittered the diamond!  You can't make a wedding card without some bling!

The best part about creating your own cards is the personalization . . . it's all about making the card just the way you want!

Happy Anniversary to David and Elaine, the Mr. and Mrs.!

Monday, August 16, 2010

Chalk isn't just for kids, you know!

Why should kids be the only ones to play with chalk?  Have you ever admired (secretly coveted) those fun sidewalk decorating chalks that come in a rainbow of colors?  Chalks are not just for sidewalks and boring chalk boards!  Try Close To My Heart chalks to color your stamped images! Close to My Heart currently carries 4 different chalk sets (p. 98 of the current catalog) that feature our fun exclusive color palette.  The sets are each just $9.95 and include 9 little 1"x1" blocks of colorful chalk.

I used my chalks to create this pretty bird card.  The background image on the colonial white square is used using the Chalk Popping technique discussed below. I then stamped the bird image and cut it out before applying to the top of the white piece. I used the Passages paper kit and C1408 Live Inspired stamps. 

This is such a fun technique . . . but I know sometimes it can be scary to try something that normally colors the sidewalk!  Never fear, grab your pixie or pudgy (the little makeup applicators that come with the chalk) or just a qtip or cottonball and swab some chalk.  Apply it to your image . . . it's easier to start light and then add more color.  A little chalk goes a long way.  After the desired hue is achieved, gently blow the rest off and use your finger to gently rub the excess off.  That's it.  No need to set with anything . . . the color will not rub off or transfer to your other artwork.  It's acid free and completely safe to use on your scrapbook pages.

Ready for an advanced chalking technique?  Try some Chalk Popping -- the look is very, very fun!  First, stamp your desired image with your VersaMark stamp pad.  The image will be clear, so it may be hard to see.  Brush chalk over your image, making the stamped image pop, or appear like magic!  See page 21 of the current catalog.  I took a picture of my tools, but if this makes no sense, give me a call or email and let me know you are having chalk issues.    It's fast and easy!  Try it today!

Thursday, August 12, 2010

Something Splendid FREE

Pretty Card made by Judy.
Summer is winding down which makes me sad and happy, all at the same time.  The weather hasn't been very warm . . . hopefully we'll have some more warm summer days, it feels like Fall already.

This month's Stamp of the Month is very pretty and so versatile.  The card exchange members this month chose to use Passages for the colors and the flowers were decidedly Fall with sunflower colors.  However, the last page of the catalog shows the set in pretty pinks!  I love sets that can be used for many different looks and styles.  Don't wait though . . . this stunning set is only available through August 31st.  Click here for details: Stamp of the Month.

Monday, July 26, 2010

Adorable Hedgehogs!

I have no idea why I love hedgehogs as much as I do . . . but this month's Stamp of the Month set is just SO stinkin' cute!

Here are two cards I made yesterday using the Happy Forever stamp set and the Splendor paper pack.  I chalked in the hedgehogs and then used pencils for some shading.  SO sweet.

This is a 5"x7" card I created using one of the Mojo Monday sketches, shown below.  And look, the little hedgehog has a belly button!  :-)


This 5.25"x5.25" card is really a little mini album!  Untie the little ribbon and open the inside to 4 pages of places to decorate with pictures, writing, and decoration.  So much fun!

The picture is hard to see (my camera went Boy Scout camping) but the white space is a 10" x 5" Colonial White paper, folded in half.  Then I glued the back of the "card" to the middle of the white space.  The left panel is 4"x5.25" and the right panel is 2.5"x5.25".  Let me know if you have any questions.  Enjoy!
Thanks for looking.

Friday, July 23, 2010

Magic!

Convention is SO much fun, but one of the parts I love best is the opportunity to make fun new scrapbook pages and cards, with the new stamp sets and papers.  The layouts we made this time were extra magical because we made it with the all new FLIP FLAPS and we used a pattern from the NEW idea instruction book called Magic.

I took some pictures of my finished pages . . . of course the pictures do not do the pages justice!  The paper is the all new Magnifique paper.  So much fun!


This is the left hand page with all the flaps closed.


This is the page with the flaps open.


This is the right hand page, with the flaps closed.

This is the right hand side with the flaps open!

These flaps are SO cool!  I didn't count how many photos I included on the pages, but for those occasions when just a few pictures just won't tell the story . . . add some flip flaps.  Coming soon: in 12" x 8", 12" x 6", and 12"x4".  The flip flaps easily adhere to your existing page protectors.  Couldn't be easier!  Happy Scrapbooking!

Monday, July 12, 2010

Convention Fun

I’m back!  My Stamp Studio missed me so very much, as did my critters and, I’m sure my family.  This year’s Convention, in our beautiful country’s Capitol, celebrated Close To My Heart’s 25th anniversary and was filled with SO many surprises and fun activities, as well as important business information.  The theme, “Picture This” was perfect as I found myself first picturing myself with all of the fun new stamp sets, papers, and fun accessories.  I promise you, you will LOVE the new Fall catalog (available to order from beginning September 1, 2010.

I also loved learning all about very creative scrapbooking techniques like using flip flaps on our photo pages and creating cards using our very cool clear, acrylic cards.  Talk about WOW!  I have SO many things to show and tell. In the next few weeks I am going to be organizing and creating my future class schedule and workshop ideas.  I would love to start teaching these fun new ideas . . . so stay tuned.

Convention wasn’t just about learning about stamping and scrapbooking though.  My most treasured memory of this convention, as well as past conventions is all about the friendships and networking with the most dynamic women (as well as Dr. Phil, our first male Director) who call home all across the United States (and Canada too).  I found myself sitting next to women from all walks of life and at all levels in the company.  Their stories are different, but their reasons for loving Close To My Heart and the annual Convention are nearly all the same.  We all love gathering as an entire team and sharing our passion for this wonderful papercraft.

Next year’s Convention is scheduled for July, 2011 in beautiful Anaheim, California.  I hope that everyone on the California Dreamin’ team (and maybe some new team members) ALL decide to join me, as I celebrate my 14th year as a Close To My Heart Consultant!  It’s sure to be worth every penny.  I consider it an investment in myself personally, as well as an opportunity to learn all the important elements of building a successful business.

Picture yourself in Anaheim with me, my friends!


Thursday, July 8, 2010

Top 5 Reasons to Attend Convention!

There are SO many wonderful surprises at the annual Close To My Heart Convention . . . but these are 5 of my favorite reasons!

First: an adventure to new and different places!  This year we are in beautiful Washington DC at the Gaylord Resort.  This 5 star hotel has everything you need in one convenient location . . . the service is exceptional, the location is right on the Potomac River, and besides the fact it is SO big I have a blister on my right heel, it's perfect!

The second thing I love about Convention . . . the friendships of old friends and the new friends I meet.  There are late night chats with room mates, picture opportunities with friends old and new, and the fun stamping times as we learn new techniques and business news from around the country!  I love my team!

The third thing I love about a fun Close To My Heart event . . . the amazing artwork!  My brain is full of all the new things we can do with our papers and stamps and fun accessories.  I can't wait to get back to my Stamp Studio to try it all out!

Another reason for Convention time?  Tomorrow we have our Creative Sessions . . . hours of Make and Takes with the all NEW products!  I can't wait to get my fingers all inky! Definitely a GREAT reason for coming to play.

Okay, my number one reason for attending a Close To My Heart Convention?  It's the surest bet to energize my business and excite the creative and business juices.  I can't wait to get home and start sharing all the things I've learned!  Stay tuned for more soon!!!

Tuesday, July 6, 2010

Happy Summer!

Hello from the Nation's capital!  I'm enjoying the beautiful Gaylord Washington DC, situated on the banks of the beautiful Potomac.  It's SO pretty but majorly hot and humid!  I'm SO glad that the resort and convention center is all in the same, huge glass dome building. 


Lots of things to come and do in the DC area, but I am here for one MAJOR reason!  That's the Annual Close To My Heart stamping and scrapbooking Convention.  This year is sure to be super special because it's the 25th anniversary!  Oh my goodness . . . I don't know if I will be able to sleep tonight!  Tomorrow . . . an all day Leadership training.  Very fun!

Happy Anniversary to Close To My Heart!  Proud to be part of the team!

Friday, June 11, 2010

Life is Sweet!

This bear set is SO much fun!  I made this card using the CTMH Splendor Level 2 paper pack and the new CTMH stamp set Beary Busy.


I stamped the bear's truck and trees, using Cocoa ink and then colored the images in with my watercolor pencils.  The little brads at the bottom are the new Splendor Designer Brads.

So cute, but now I don't want to mail my card to anyone!  :-)

Sunday, May 23, 2010

Zippidee!

Disneyland is a magical place that holds special memories from my childhood and my children's childhood!  Soon, we will trek down to the Happiest Place on Earth to celebrate my daughter's 16th birthday!  Ah, she's grown up from the first stroll down Main Street many, many years ago!

 The best part about this trip?  Studio J, of course!  We'll play in the park all day long and I'll be there, snapping pictures on my trusty Kodak Easyshare Digital Camera . . . at night, I'll upload those awesome memories to Studio J and create some memories, while the adventures are fresh in my mind!  I love Zippidee . . . it's almost as if Jeanette (Close To My Heart's CEO)  knew the Hagebushes were making a special trip to the world of Mickey and friends!  Zippidee doo dah!

Give Studio J a try yourself!  You'll love it too!


Thursday, May 20, 2010

Happy Graduation!


It's that time of year again!  Let's hear it for all the graduates!  I made this card for my friend's daughter who is graduating this year.  Now that I have the card made, I have no idea what to give her!  :-)


I may not be graduating this year, but I did learn a new trick this week.  My good friend, Lori, who has shown me all there is to know about blogging, also showed me how to use my trusty rubber brayer to make really cool backgrounds.  This is my first attempt.  I have a long way to go to get it as cool as hers, but it's SO much fun!


No matter how old you are, it's never too late to learn something new!!!

Tuesday, May 11, 2010

Old School Albums

I have been on such an organizing kick these last few weeks . . . it must be Spring with all this cleaning out.  I have found so many fun treasures! One of my favorite things to find, of course, is anything to do with pictures or albums.  In the bottom of my closet, I discovered a box with some old school memorabilia and two of my very first photo albums I ever did . . . one is from about 3rd grade and the one with the horse on the front is from 6th grade.  The albums are not in good shape and my task today is to rescue and try and revive some of the old photos that have been eaten alive by the bad glue and the acid on the paper.  Wish me luck!